
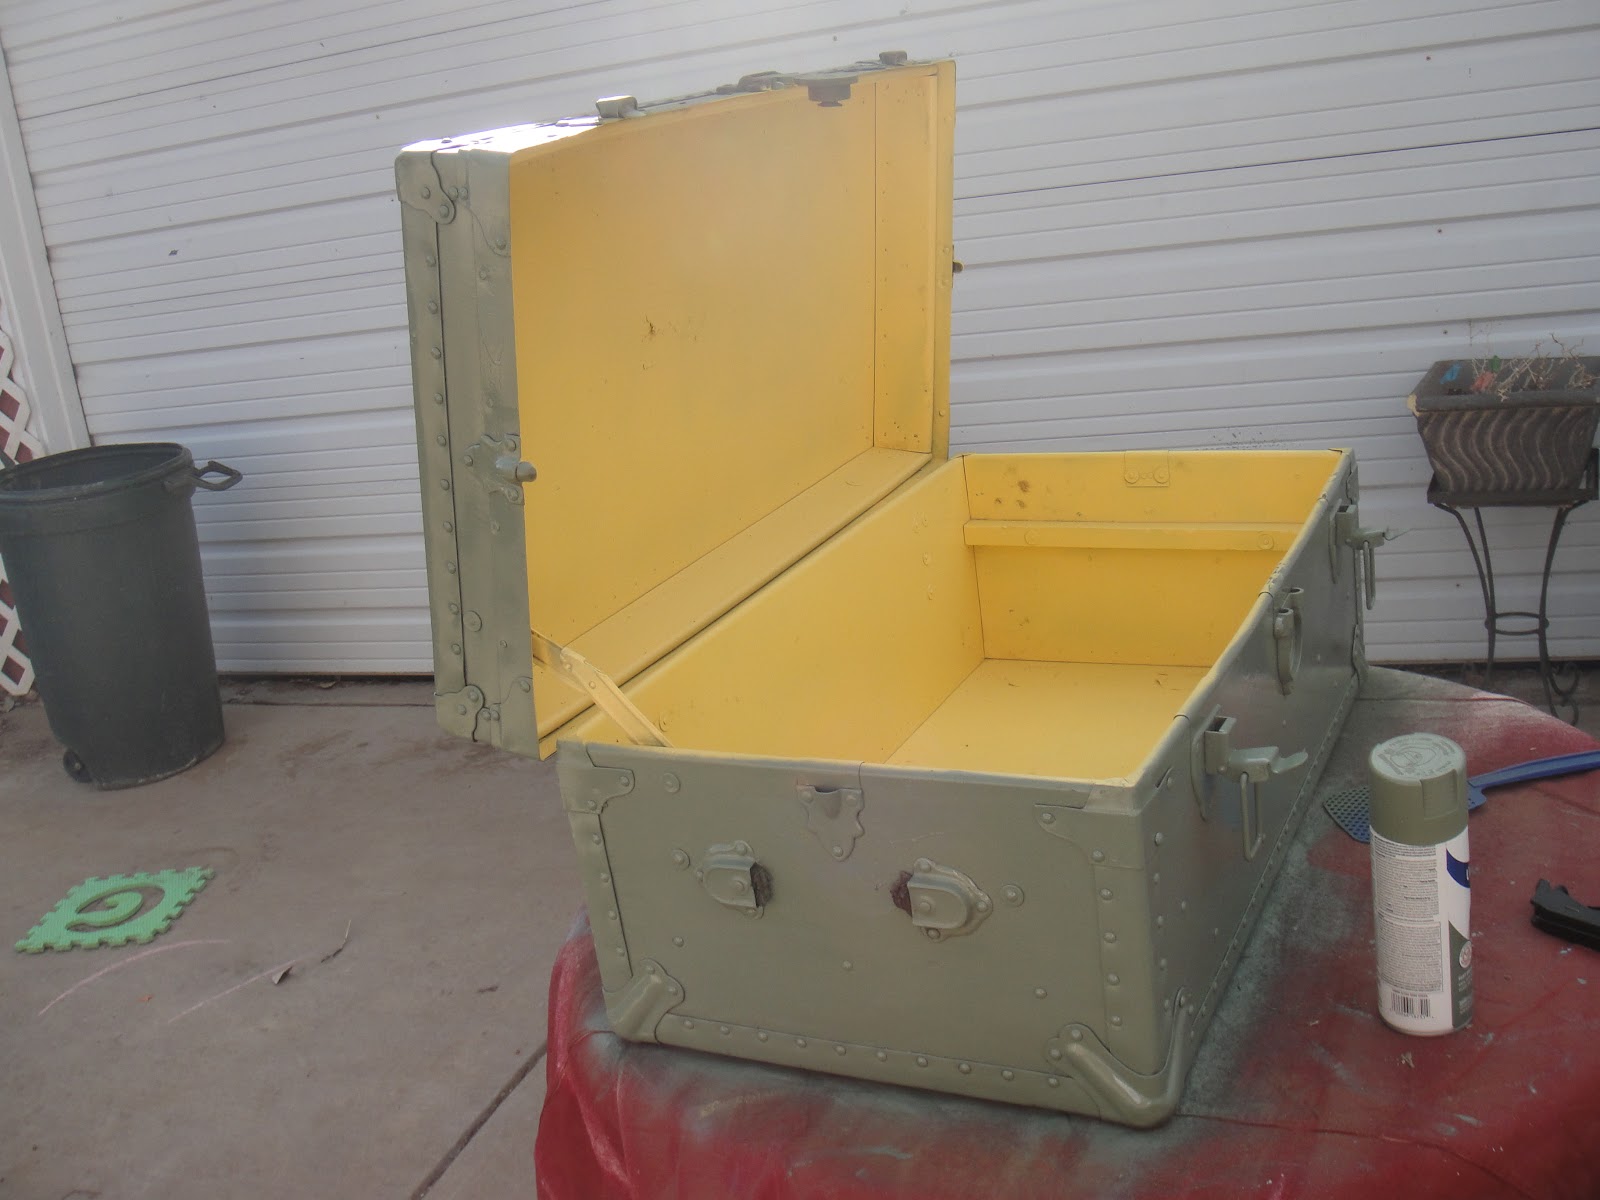
I had this old trunk that my grandparents' had used for storage in their garage when I was a kid, and I have always known that it was destined for greatness!! After many years of not-so-greatness collecting dust in my garage, I am proud to say, it has finally 'arrived'.
This was how it began:


I chose a cheery, sunshine yellow for the inside.
Just for something happy and unexpected.

And a soft, calm and cool sage green for the outside.
While the paint dried outside, inside I worked on what would become the upholstered top. A scrap piece of reclaimed wood, and a piece of scrap foam from the fabric store were covered with some luxurious upholstery fabric.
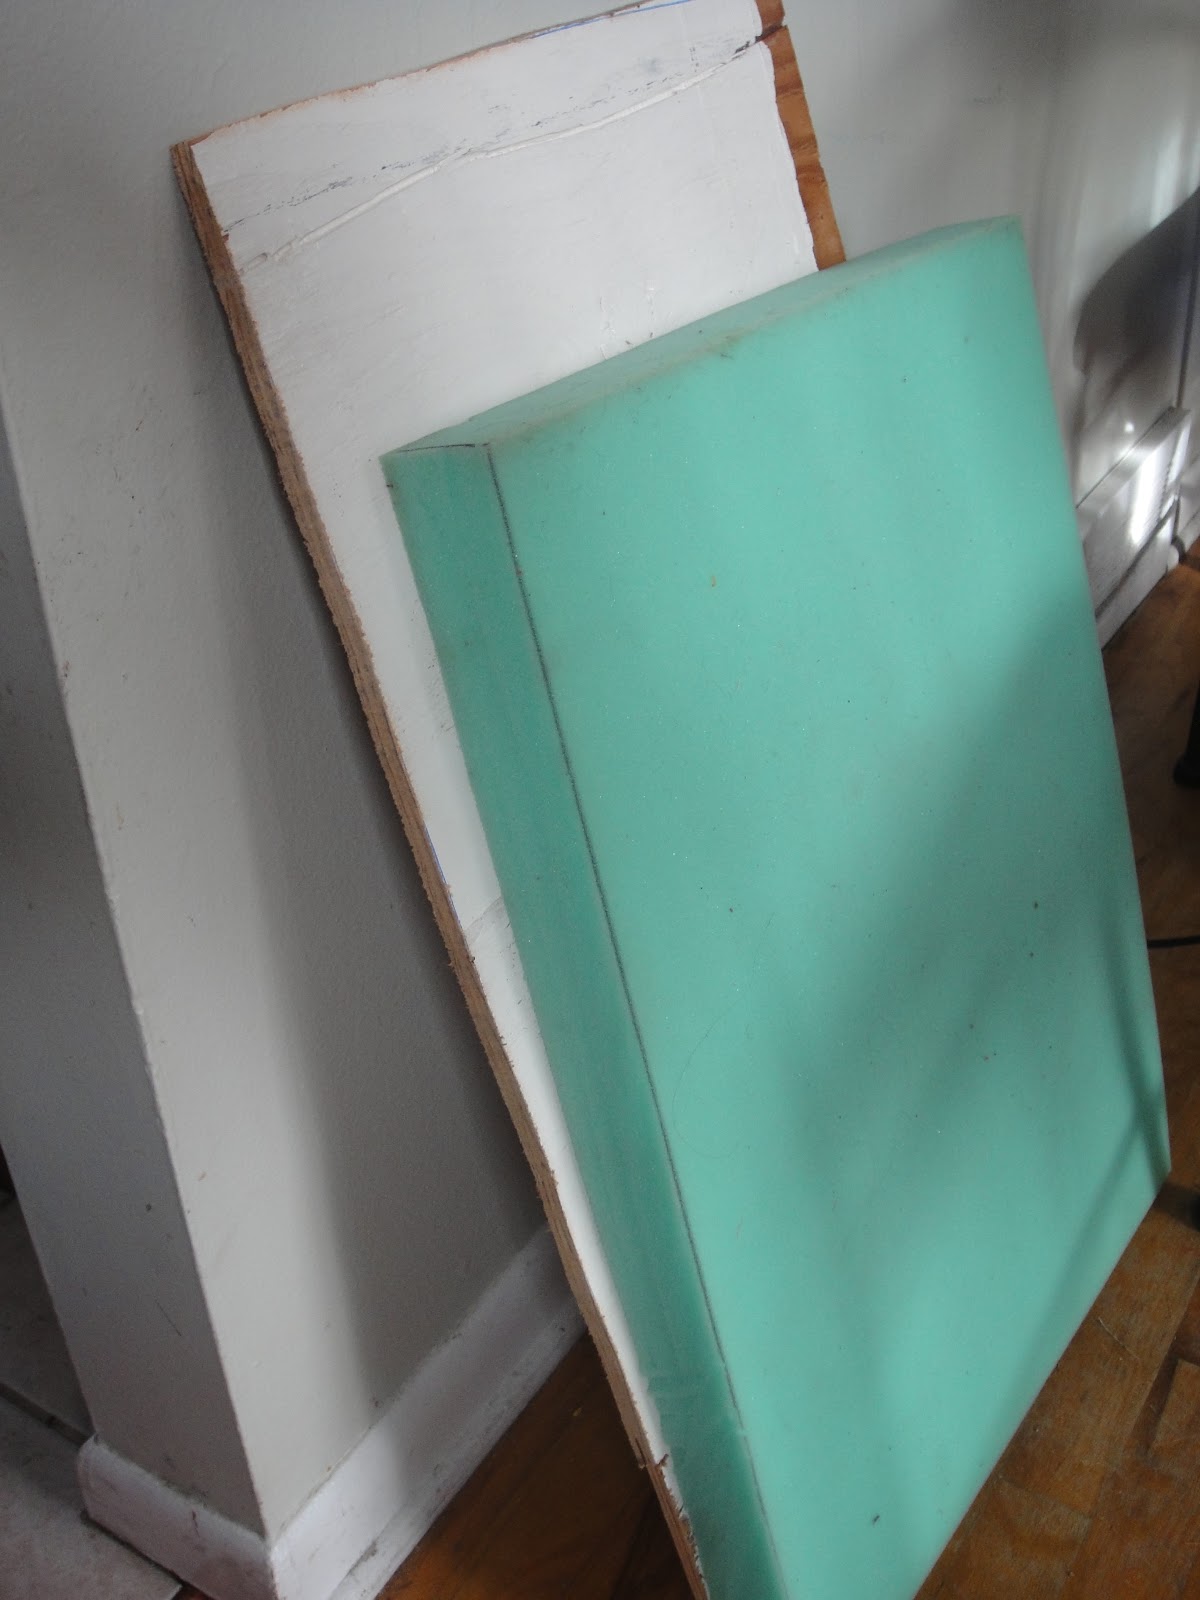

To attach the fabric, lay the fabric open with the wrong side facing up. Then lay down the foam, followed by the wood. Pull the sides of the fabric up, wrapping it around the wood and secure with staples. When you pull use a little tension, but not too much. We don't want it to sag, but we don't want it to pucker either. when you come to the corners, fold them like you would when wrapping a gift.


Attach the upholstered piece to the top of the trunk with screws from the inside of the lid. Be cautious with your screw selection- wile we want it long enough to hold the wood to the trunk, you don't want it so long that it pokes through the foam and fabric.

Finally, I added wheels to the bottom so that we could easily push it around the living room without damaging the floors.

Here it is now, at home where it has always belonged.

Thank you so much for explaining how to do this project. We have an old metal trunk that I want to pad the top to use as an ottoman and had no idea how to do it. Yeah, now I can make it work!
ReplyDelete